Have you ever had pain stop you in your tracks?
Earlier this year, a panicked jump to avoid stepping on a snake left me with a severe calf strain. My body locked up. Walking—even in the water—was out of the question. I had a vacation coming up in three weeks, packed with hiking and golf. I needed relief. Fast.
As someone who’s taught water exercise for over 30 years, I knew the healing power of the pool. But this injury showed me something new. I didn’t need a long list of exercises. I needed the right ones, done the right way, at the right time.
That’s what inspired me to create a new program: When Pain Stops You in Your Tracks—a gentle, six-step system to calm pain, restore movement, and rebuild trust in your body. It’s now the method I recommend to anyone looking for the best knee strengthening exercises—and a whole-body reset.
If you’re dealing with stiffness, inflammation, or joint pain, here’s a look at how I used this process to recover. It’s become my go-to approach for any flare-up, setback, or day when something just feels off.
These are the steps I took to get me back to normal in quicker time than ever:
Using Water Exercise To Heal From Knee Pain

Step 1. Stillness
Sometimes the most powerful knee pain exercise is… no movement at all.
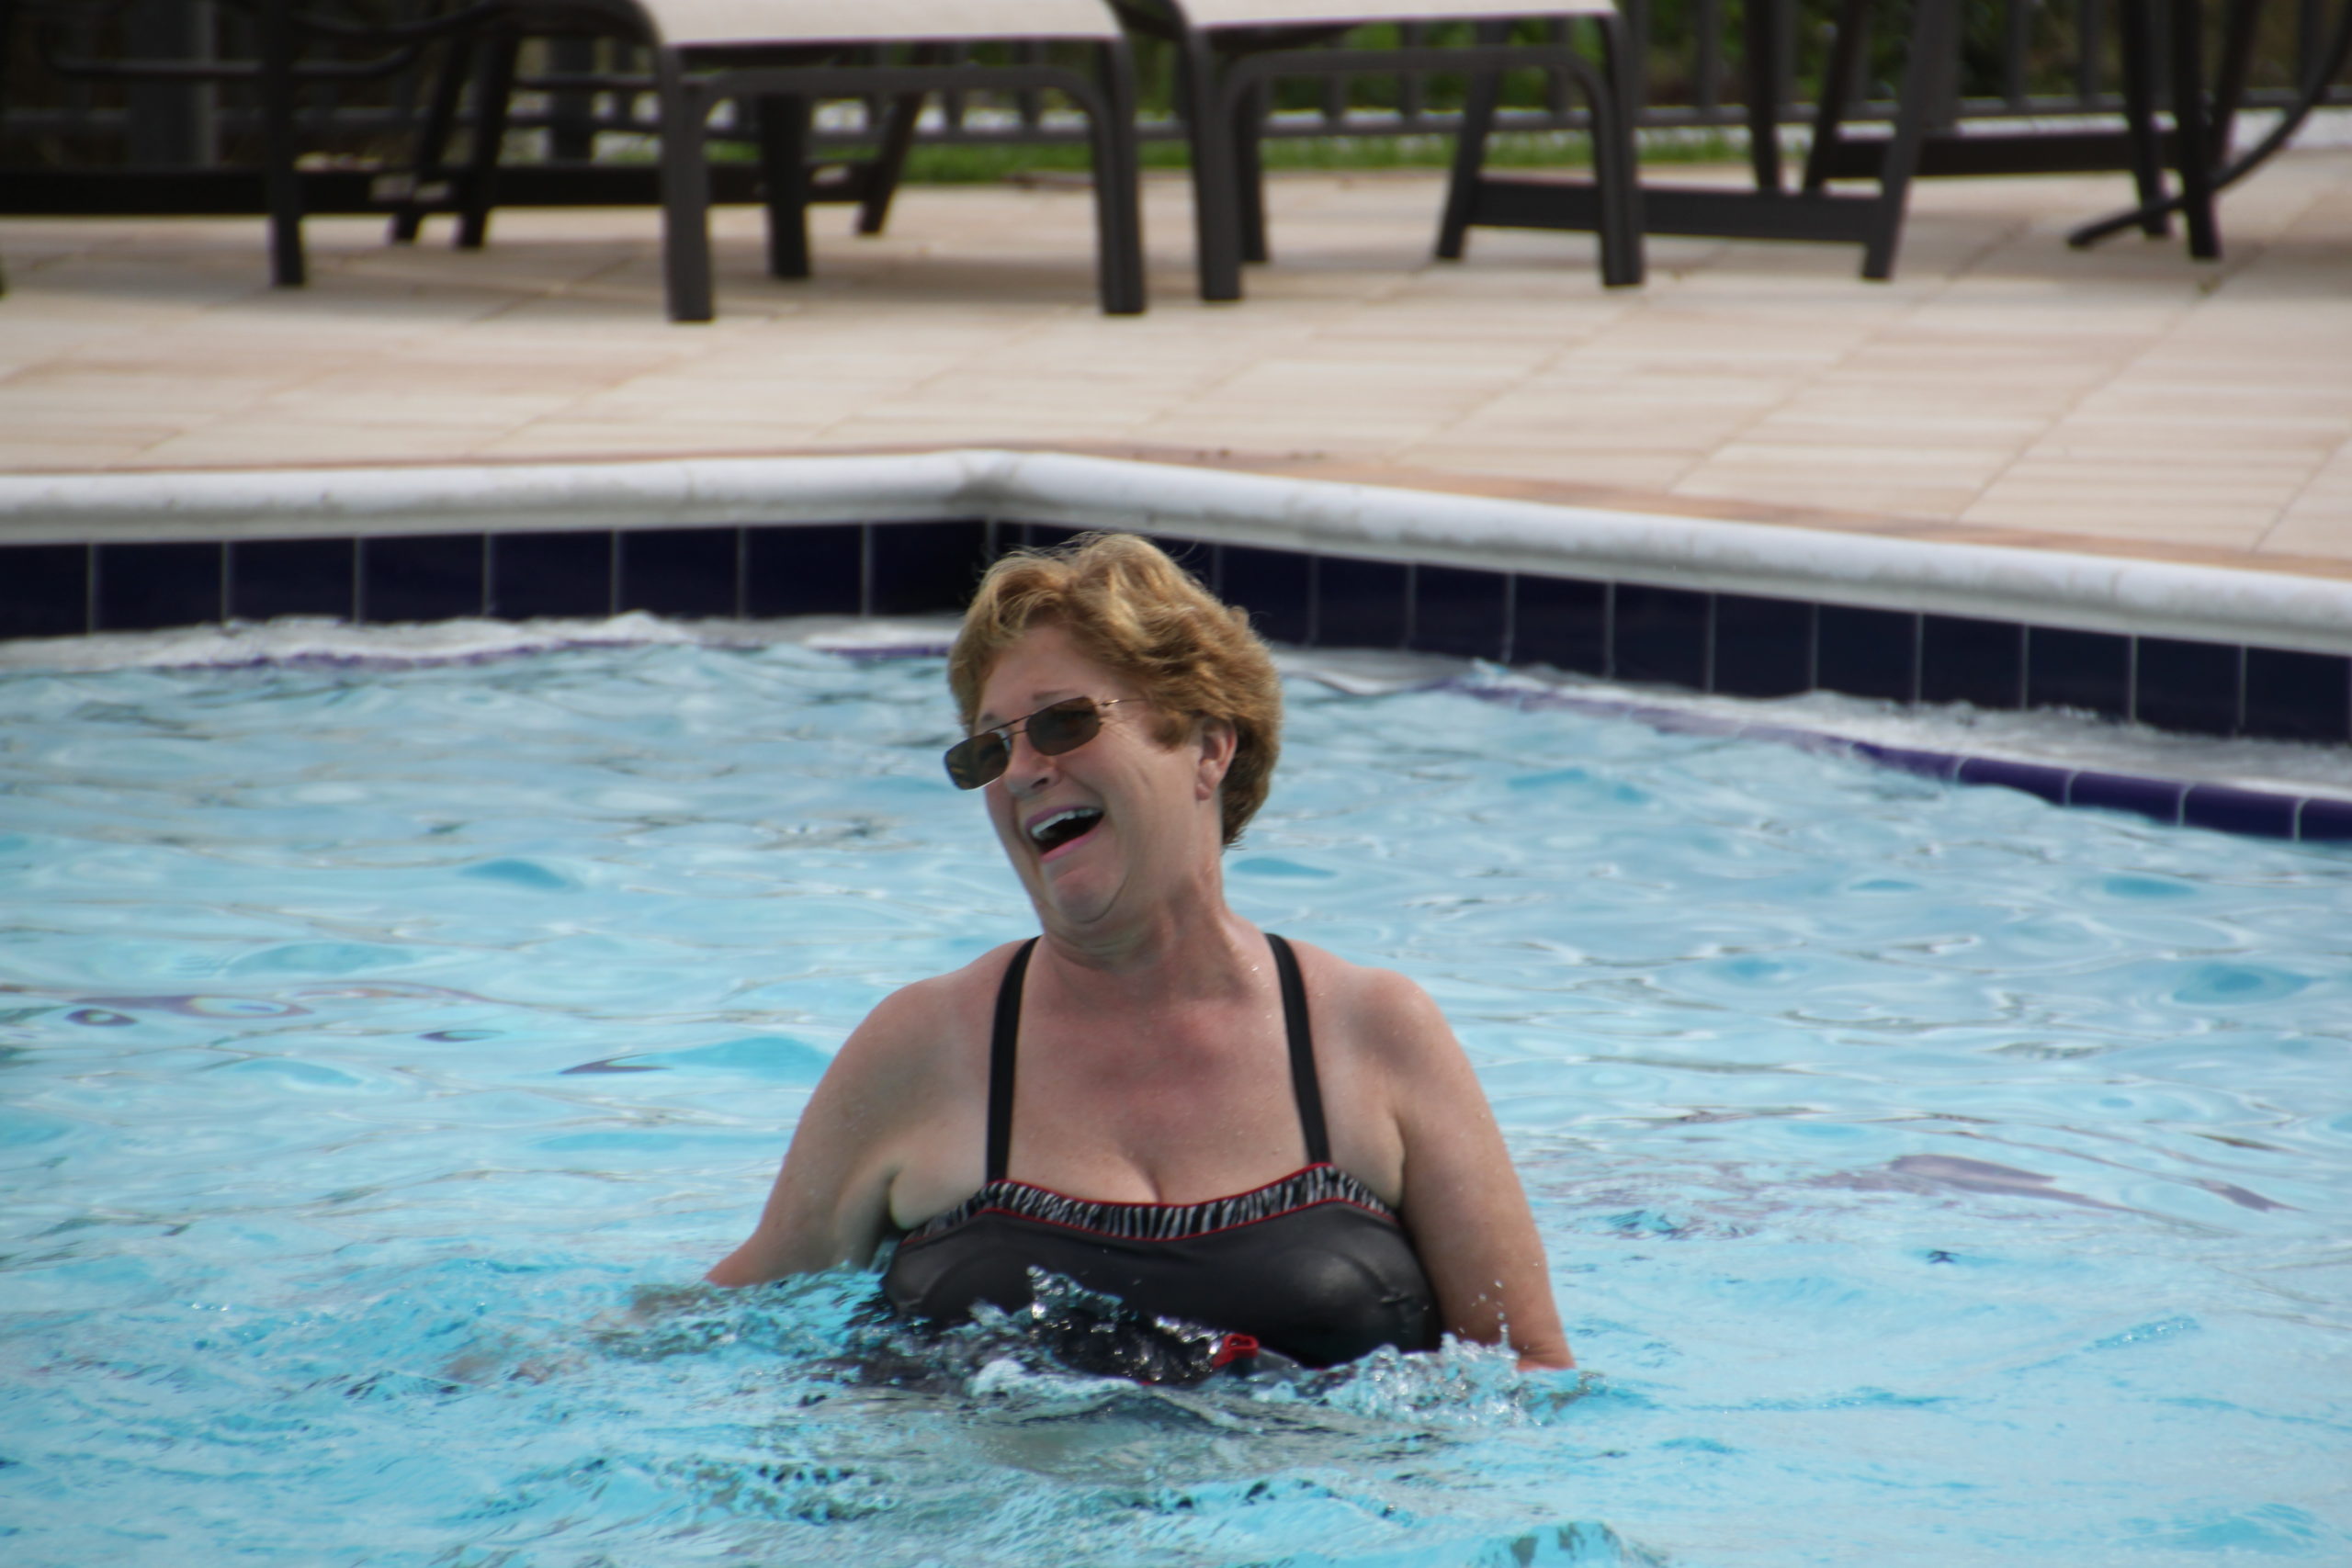
Standing in chest-deep water allows buoyancy and hydrostatic pressure to do the work. Your joints decompress. Your nervous system calms. Your body begins to heal. I leaned into this—doing nothing but being in the water—and instantly felt relief.
Step 2. Gentle movement
When movement feels safe again, start small.
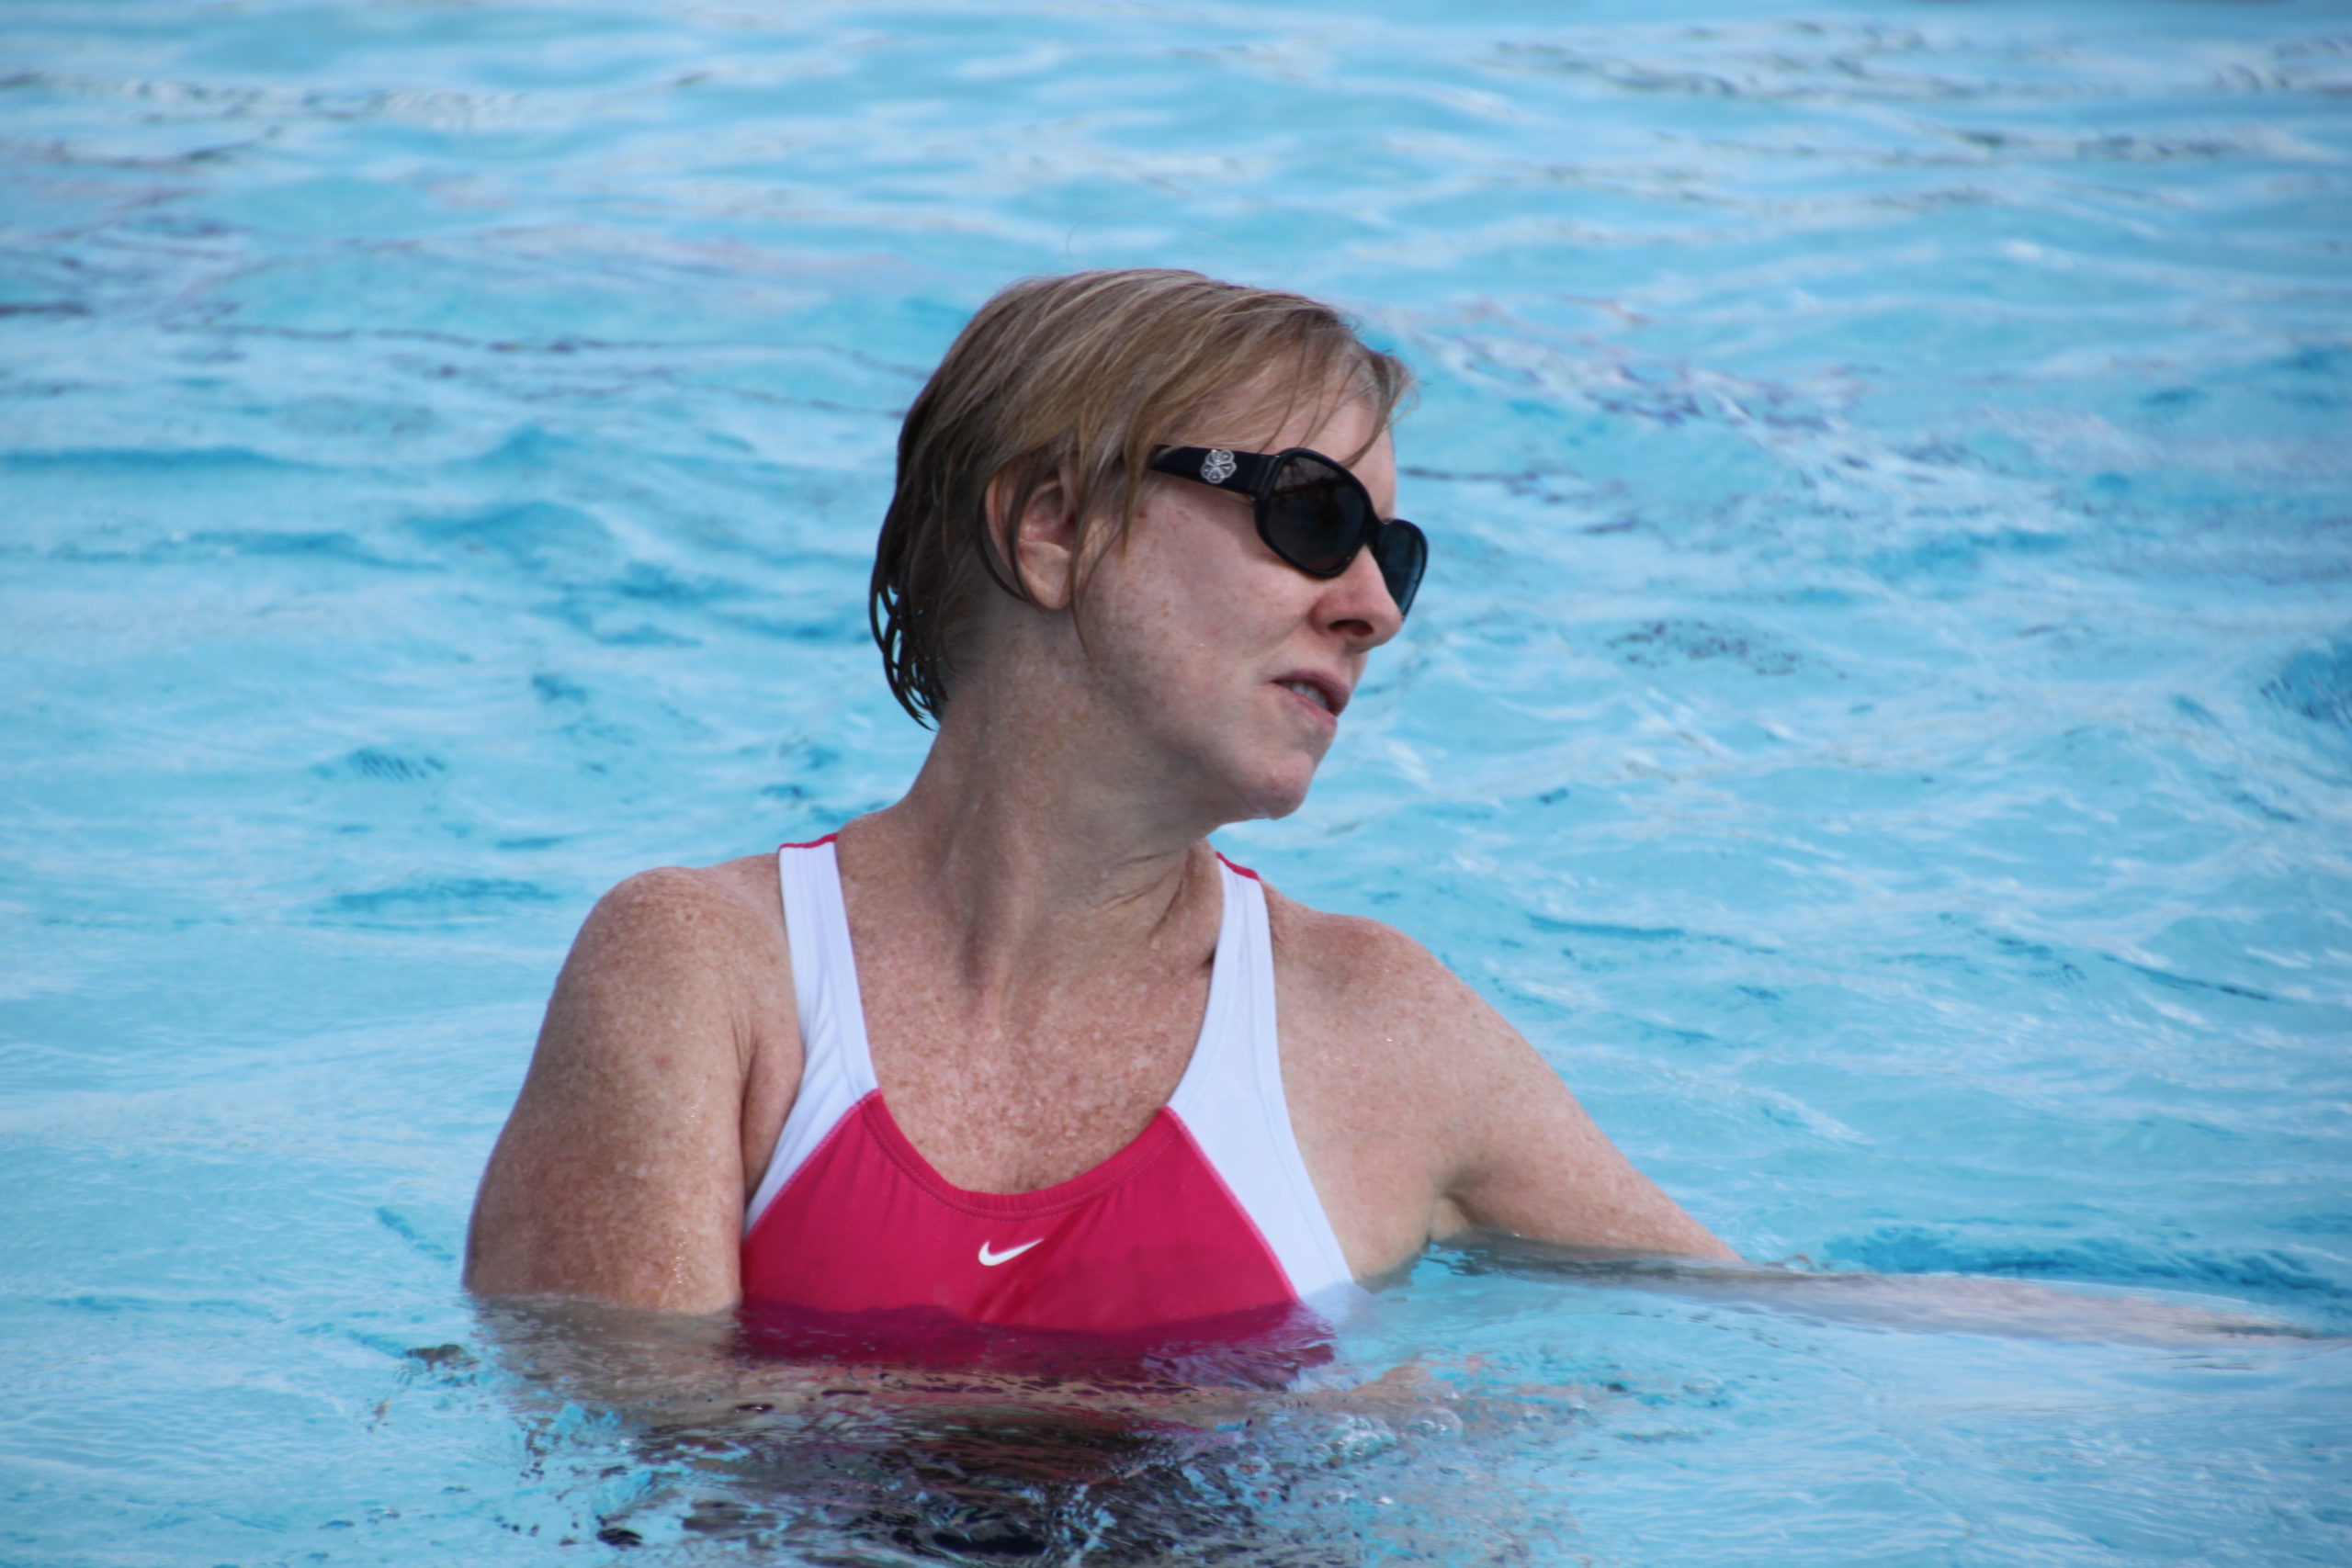
In this case, I moved only my arms—forward, back, side-to-side, and in gentle rotation. These motions created ripple effects through my hips, knees, and ankles. This strategy helped me reintroduce motion without fear—and prevented chronic stiffness from settling in.
Step 3. Close your eyes
With my eyes closed, I felt the subtle shifts in my body more clearly. This step deepened my awareness and gave me confidence in my movement choices.
If you’ve ever asked, “Am I doing this right?”—this step gives you the answer.

Step 4. Adjust the feet
Changing your foot position is one of the best-kept secrets in functional movement.
A small shift—wider, narrower, or staggered stance—can instantly reduce strain on your knees and activate different muscle groups. It’s how I discovered my own feel-good position, and it’s now something I teach in every class.
Step 5. The What-If Method
This is where experimentation meets strategy.
What if I made the move smaller? Slower? What if I changed direction?
These small questions led to big results—and helped me build trust in my body again.
Step 6. Imagery
Before I could move confidently, I needed to imagine the movement.
Mental rehearsal helped me reduce fear and prepare for bigger steps. By the time I could physically attempt a movement, my brain already felt safe doing it. That’s the power of visualization.
Imagine moving your leg as in the video below.
Why this works for knee pain
Many people search for the best knee strengthening exercises but skip over the real secret:
It’s not just the movement—it’s the order, the intention, and the feedback that matter.
This program teaches you how to feel your way to better results. Each step is like a puzzle piece. Small on its own. But together, they unlock lasting relief and strength.
Want to try it?
If you find yourself shuffling on land finding it impossible to walk normally, start with these steps to let your body trust movement again.
When Pain Stops You in Your Tracks is here to help you do just that.
You’ll get:
- A 6-step recovery system for flare-ups, stiffness, and slow starts
- Short water-based workouts for each step (4–8 minutes)
- Guided breathing exercises
- Targeted exercises for knee, hip, and back pain
- 5 full-length, low-impact workouts (15–40 minutes)
Learn more or get the program here.
You don’t have to push through pain, guess what to do next, or worry about moving and making it worse. This is about choosing the next right (gentle) step to help you say goodbye to pain for good.
